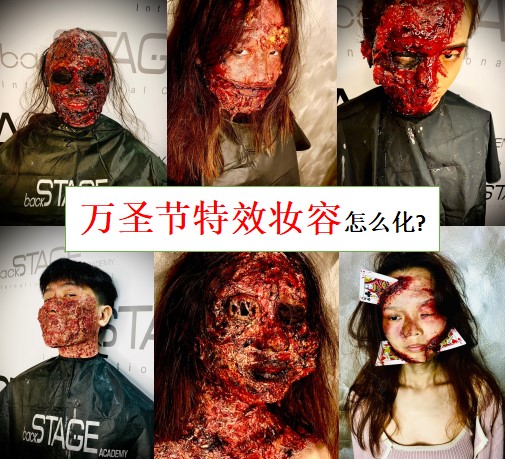
Halloween is just around the corner. Still struggling with what makeup look to go for?
How to do Halloween special effects makeup?
Today, let's share with you how to do special effects makeup.
How to DIY special effects makeup at home without special effect makeup products.
If you don't want to miss out, save it quickly!
Special Effect 1: Bruising
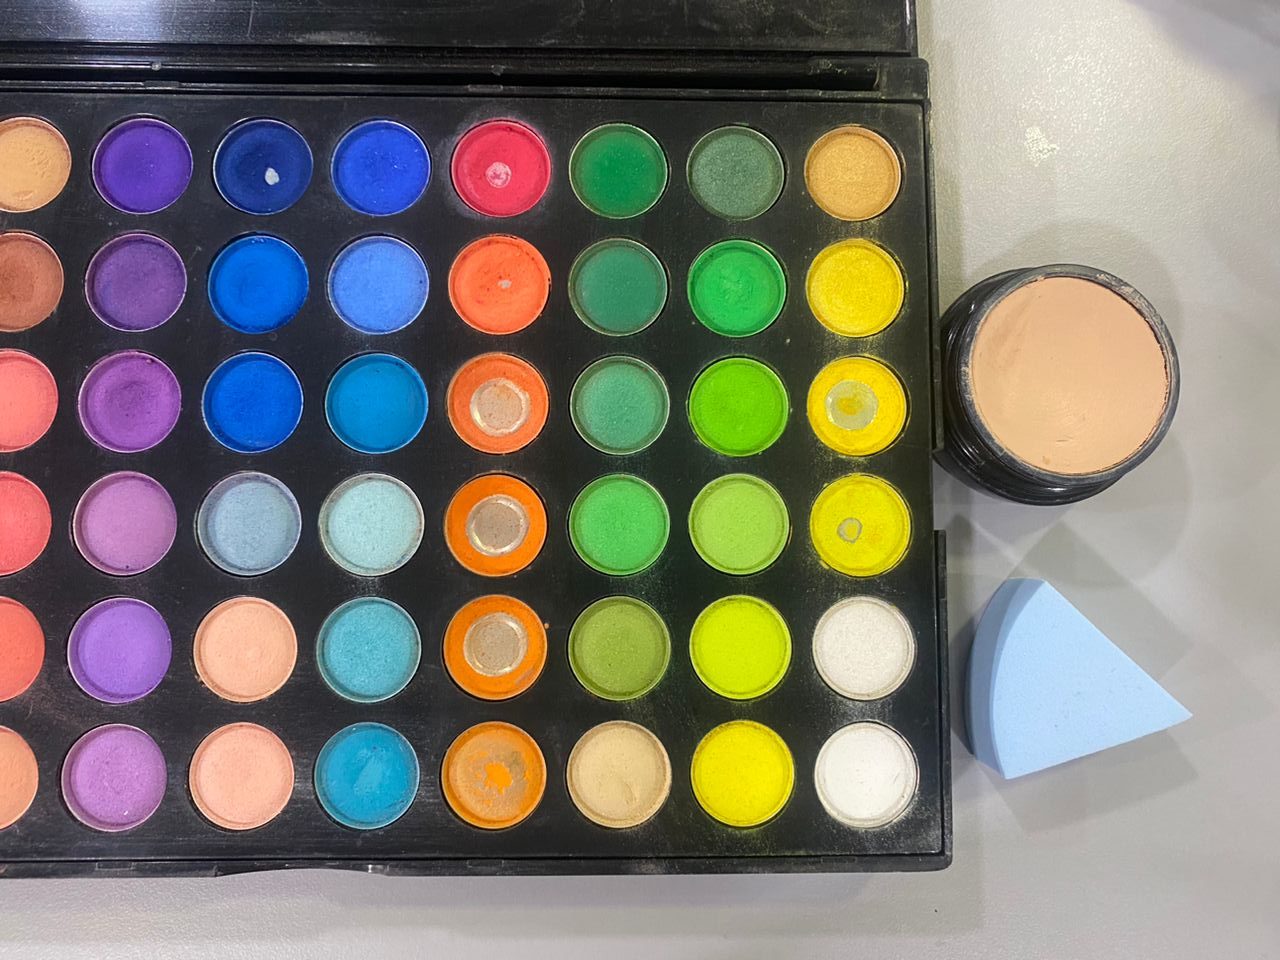
*Materials needed: Foundation that matches your skin tone, a colorful eyeshadow palette, a disposable sponge.
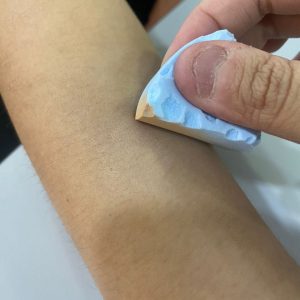
Step 1: Whether you're applying it to your face or other areas, remember to first apply your pre-makeup skincare and makeup base. Then, apply a layer of foundation to your skin. This will help the eyeshadow colors adhere and show up vibrantly when you create the bruised effect later.
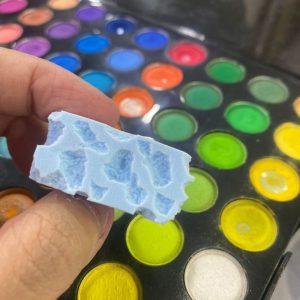
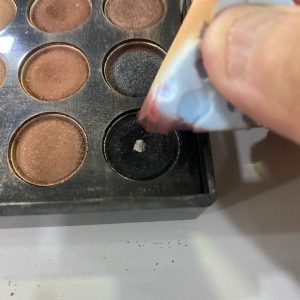
Step 2: Use your fingernails to poke small holes in the disposable sponge, similar to how you would poke holes in cheese. The size and arrangement of the holes do not need to be neat or uniform.
The embossed pattern can create depth and contrast, as well as effects like blood streaks and root-like structures.
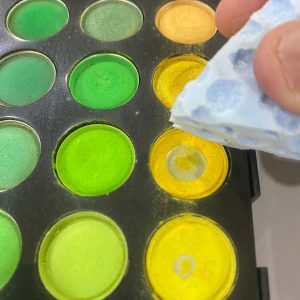

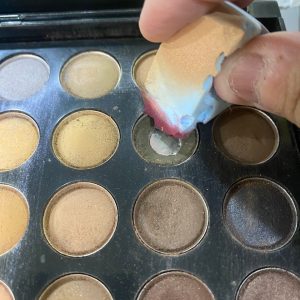
Step 3: After applying foundation, it's time for coloring. Use the convex and concave sides of the sponge for coloring. Apply a layer of yellow first, using a dabbing motion. It doesn't need to be evenly colored; there should be variations in depth and lightness.
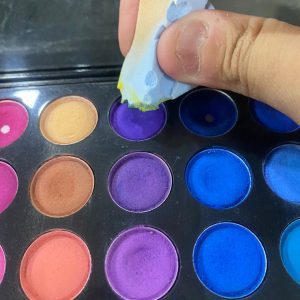
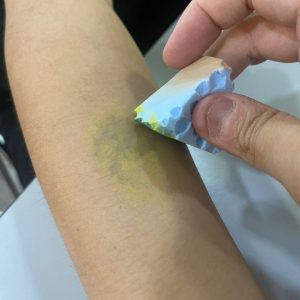
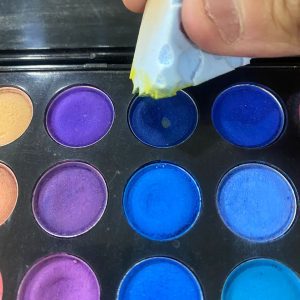
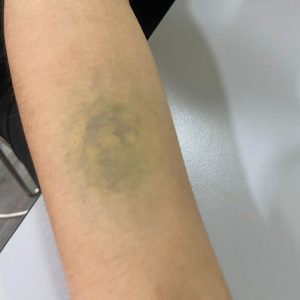
Step 4: Overlay a little purple and blue on top of the yellow to create a bruised, contused appearance. When overlaying, remember not to repeatedly apply to the same spot; irregular layering will better highlight the effect of the blood vessels and root.


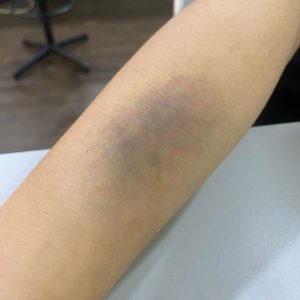
Final Step: Lastly, add red to the bruises to make the overall vascular effect of the bruises appear more three-dimensional.
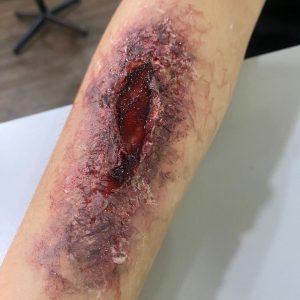
Special Effect 2: Ulcerated Wound
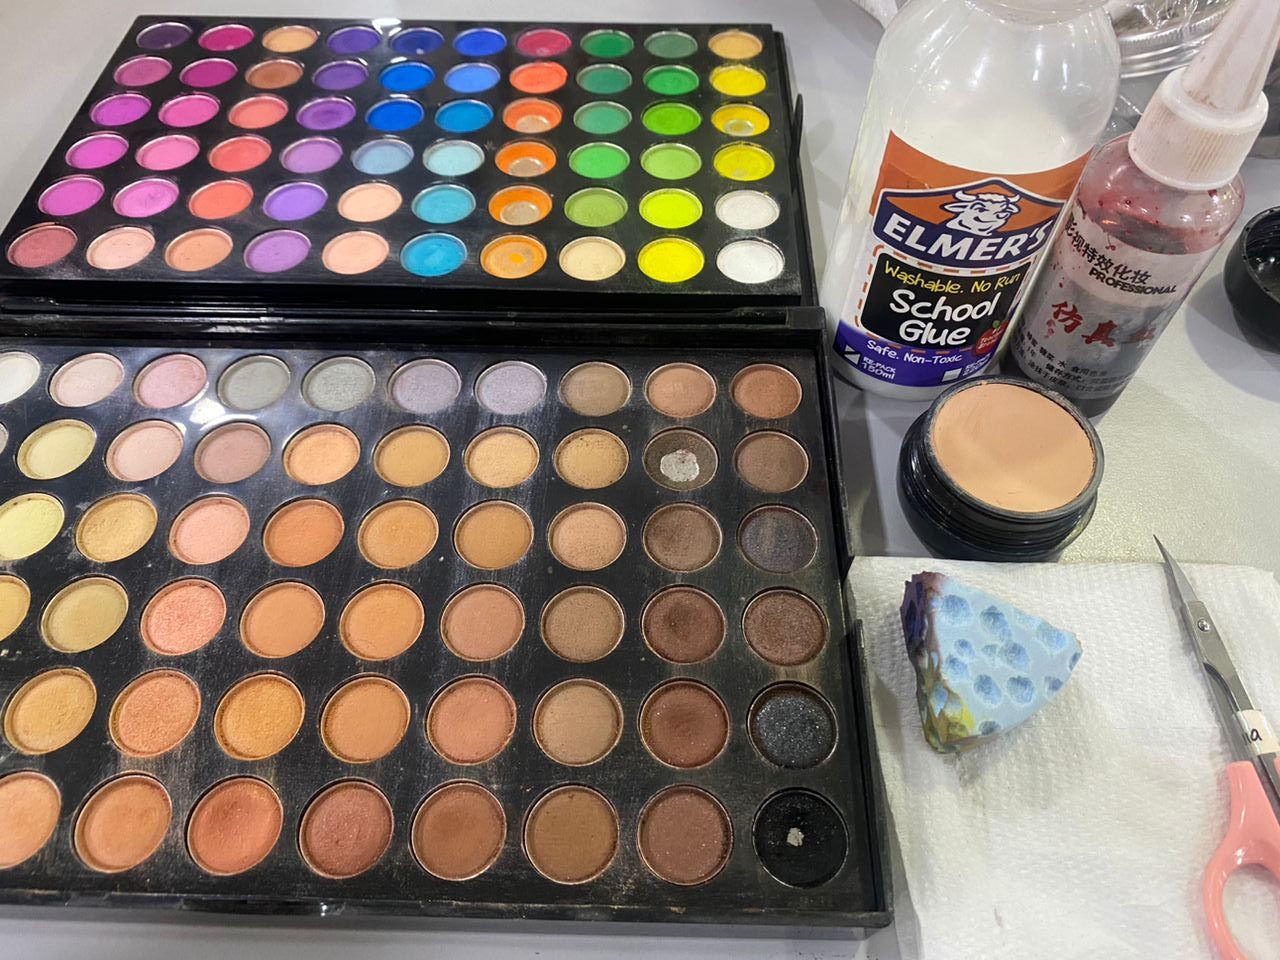
*Materials needed: Foundation that matches your skin tone, colored eyeshadow palette, a disposable sponge (with uneven bumps), cotton balls, tissue paper, school glue (as a substitute for special effects latex), small scissors, fake blood.
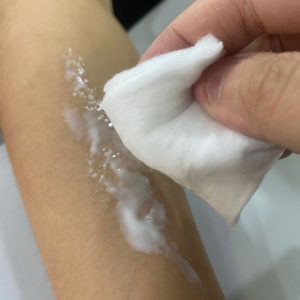
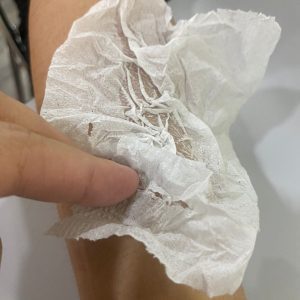
Step 1: Regardless of whether you're applying it to your face or other areas, remember to start with pre-makeup skincare and makeup base. Then, use school glue to draw the desired wound size on your skin, and cover it with tissue. You can layer the tissue according to the thickness of the wound you want to create.
Step 2: After the tissue is completely dry, apply a layer of flesh-toned foundation to cover the white base of the tissue.
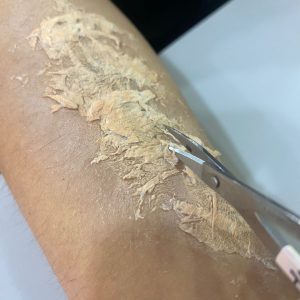
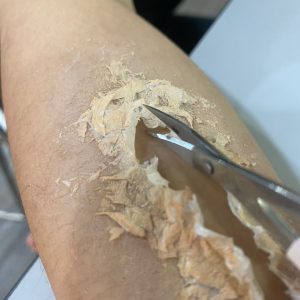
Step 3: After covering with the foundation, use small scissors to cut out the desired wound placement and size.
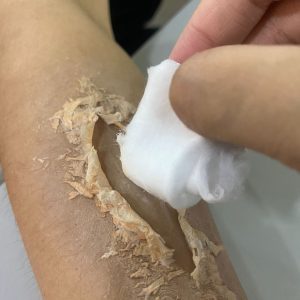
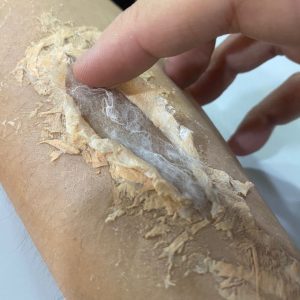
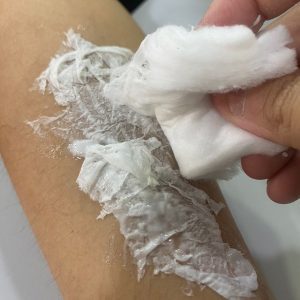
Step 4: After cutting the wound open, apply a small amount of school glue inside the wound and then attach a thin layer of cotton. This will make it easier for the plasma to adhere without sliding when you apply it later.
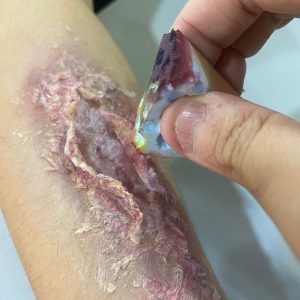
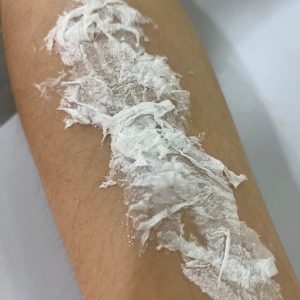
Step 5: After the cotton is glued and completely dry, you can apply a little color. You can use red eyeshadow for large areas.
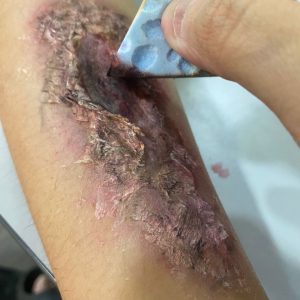
Step 6: After applying the broad strokes of red, you can use brown and black for localized shading. Apply these to the raised areas of the wound to make it appear more three-dimensional. This will create the effect of a festering wound with dark, toxic roots.
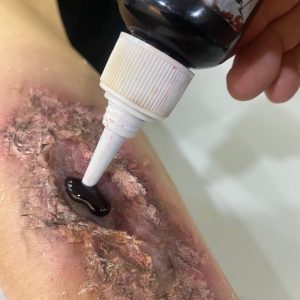
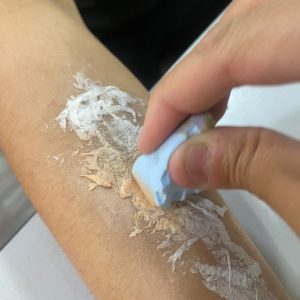
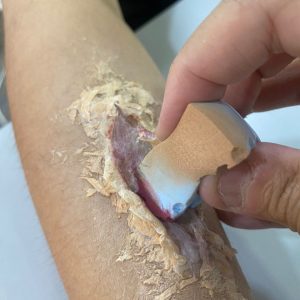
Step 7: After coloring is complete, pour plasma into the wound and use a sponge to evenly spread the plasma within the wound.
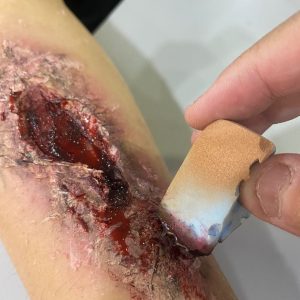
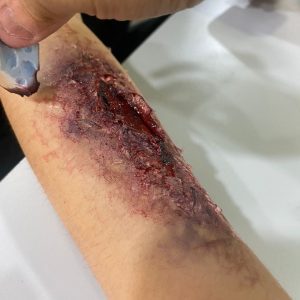
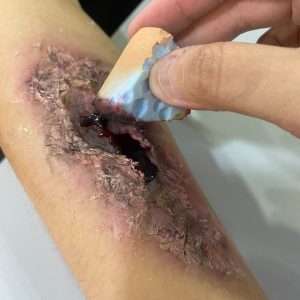
Step 8: After spreading the plasma evenly within the wound, use a sponge to bring the plasma out of the wound, creating a bloody effect of plasma overflowing from the wound. The remaining plasma on the sponge can be used to create the effect of blood roots around the wound.
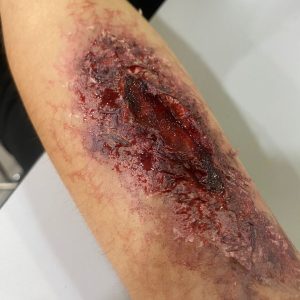
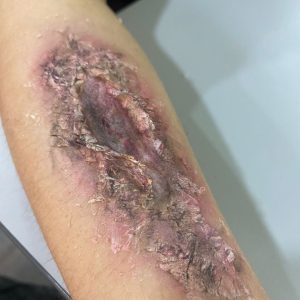
Ulcerated wound product
Special Effect 3: Simulated Plasma
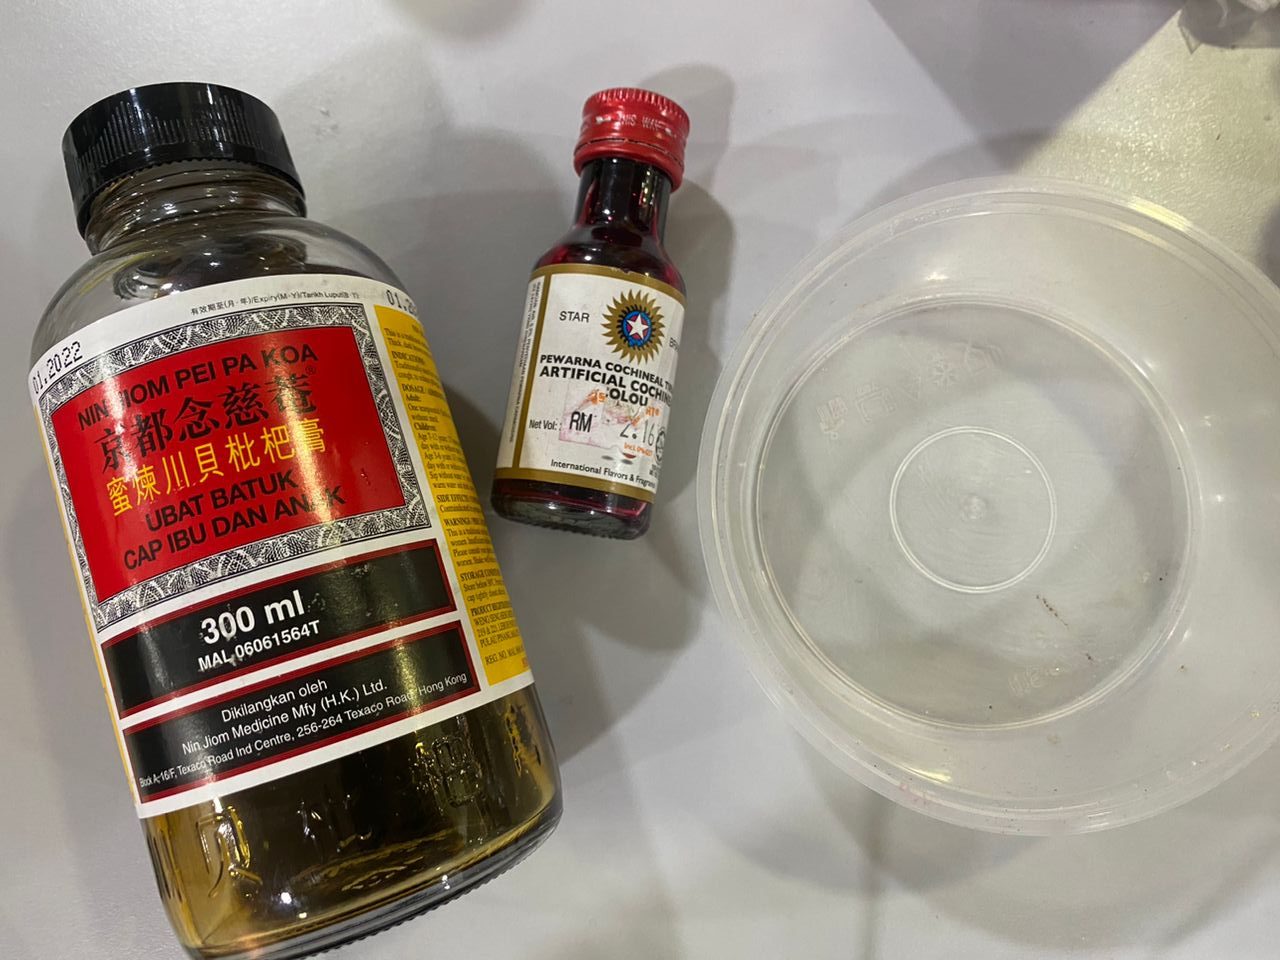
*Required materials: loquat syrup, edible red coloring, empty bowl/bottle
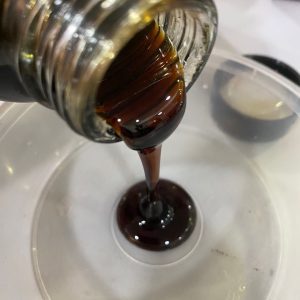
Step 1: Add an equal amount of loquat paste to the required plasma volume.
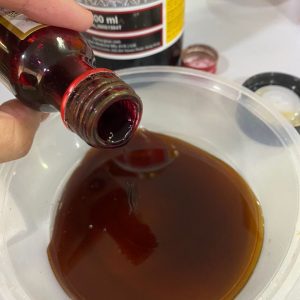
Step 2: Liquid food coloring is very vibrant, so add it in small amounts when coloring. If you add too much and it becomes too red, you'll need to add more loquat syrup to adjust.
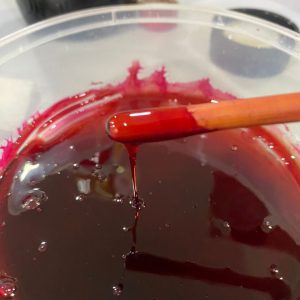
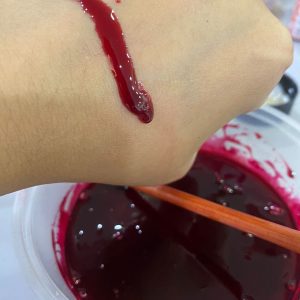
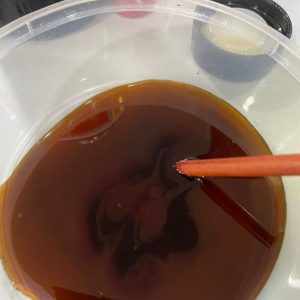
Step 3: After adjusting the color, you need to test it to see how the adjusted color looks. The color should not be too red or too dark; a slight dark red is most suitable. Adjusting the "blood" part seems simple but is actually difficult to get right.
That's all for this time's share. Simple Halloween special effects makeup that you can also DIY at home.
Quickly save this and learn it, then find some friends to try it out together!
#backstageacademy #makeup #image #halloweenmakeup #halloweenimage #specialeffect #Halloween makeup #Halloween special effects makeup #klacademy #makeupacademy #klmakeupacademy